MetaMask Guide
-
Install Metamask
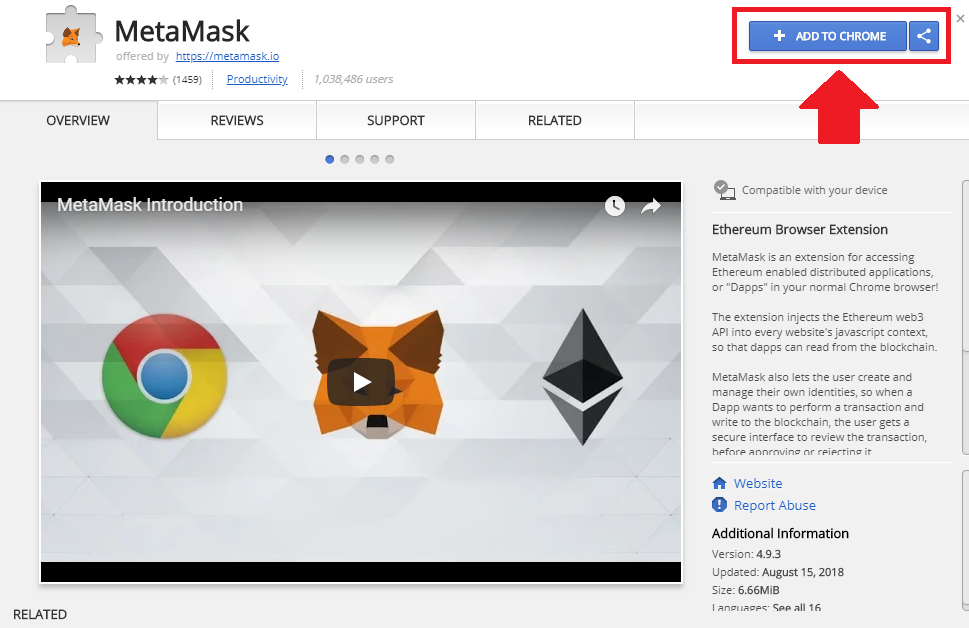
Visit the Metamask website and select the link to get Metamask for Google Chrome, Firefox, or Opera. Or install the Brave Browser with built-in Metamask. In this guide, we chose to install Metamask for Google Chrome. From the install page in the Google Chrome Store. Select Add to Chrome to install Metamask.
-
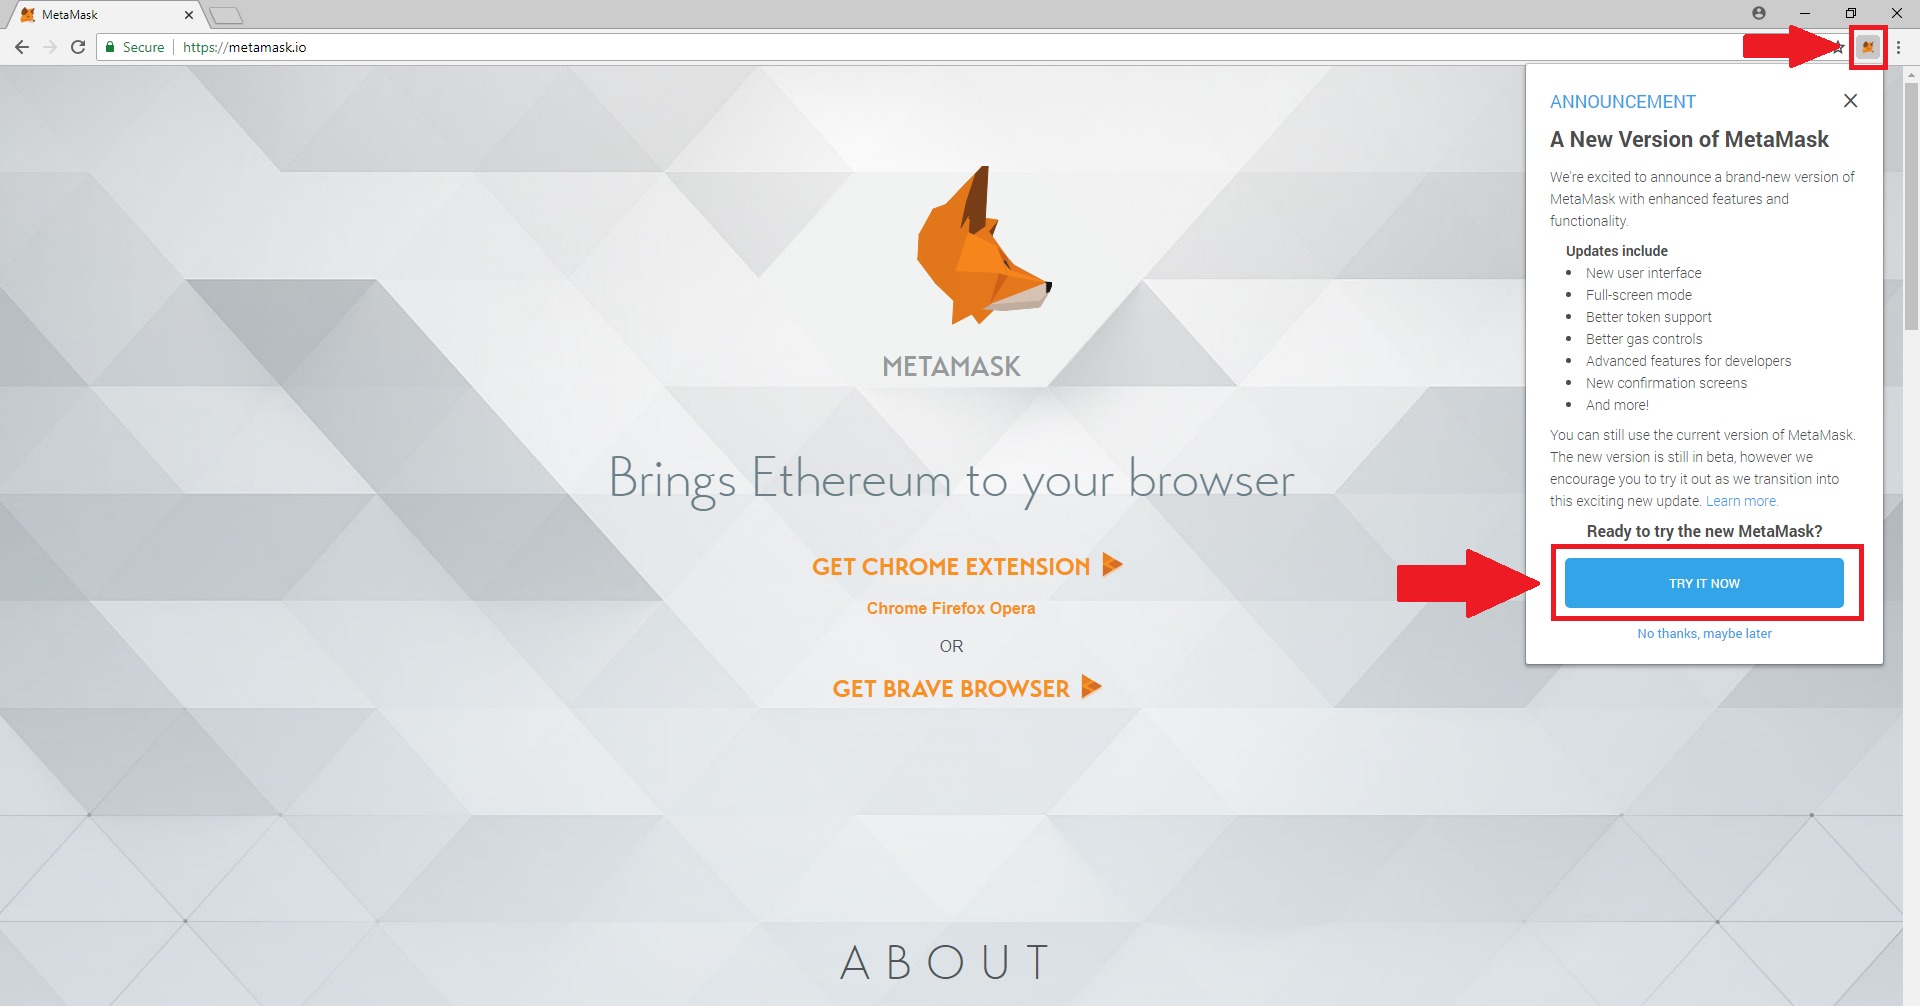
Access Metamask Beta
Let’s walk through creating an account. Metamask provides the option to create an account with the newest version with enhanced features. The new version is a much better experience with a full-screen mode, better token support, easier to use interface, and much more. This guide reviews the new version of Metamask.
-
Welcome to Metamask
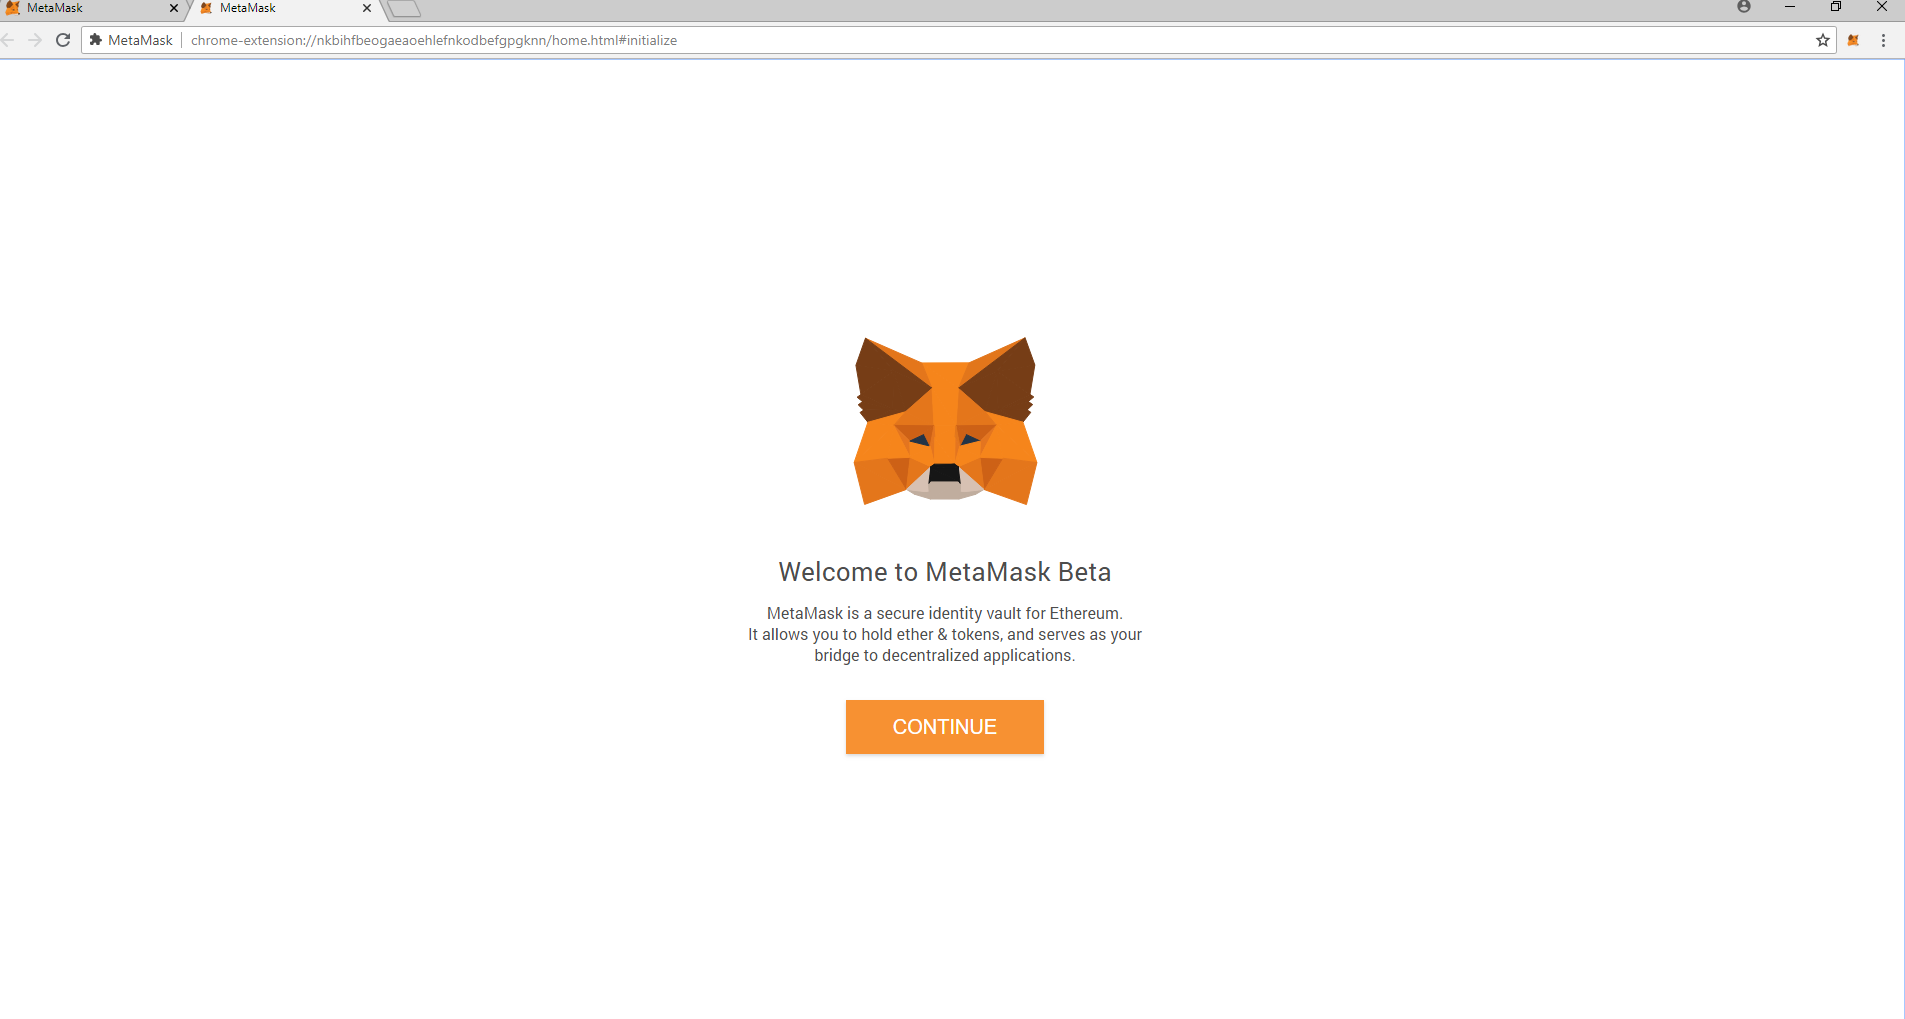
Metamask has both a full-screen mode and a mode that operates from the icon in the upper right of your browser. Account creation occurs in full-screen mode. Select continue to proceed with creating a Metamask account.
-
Create Password
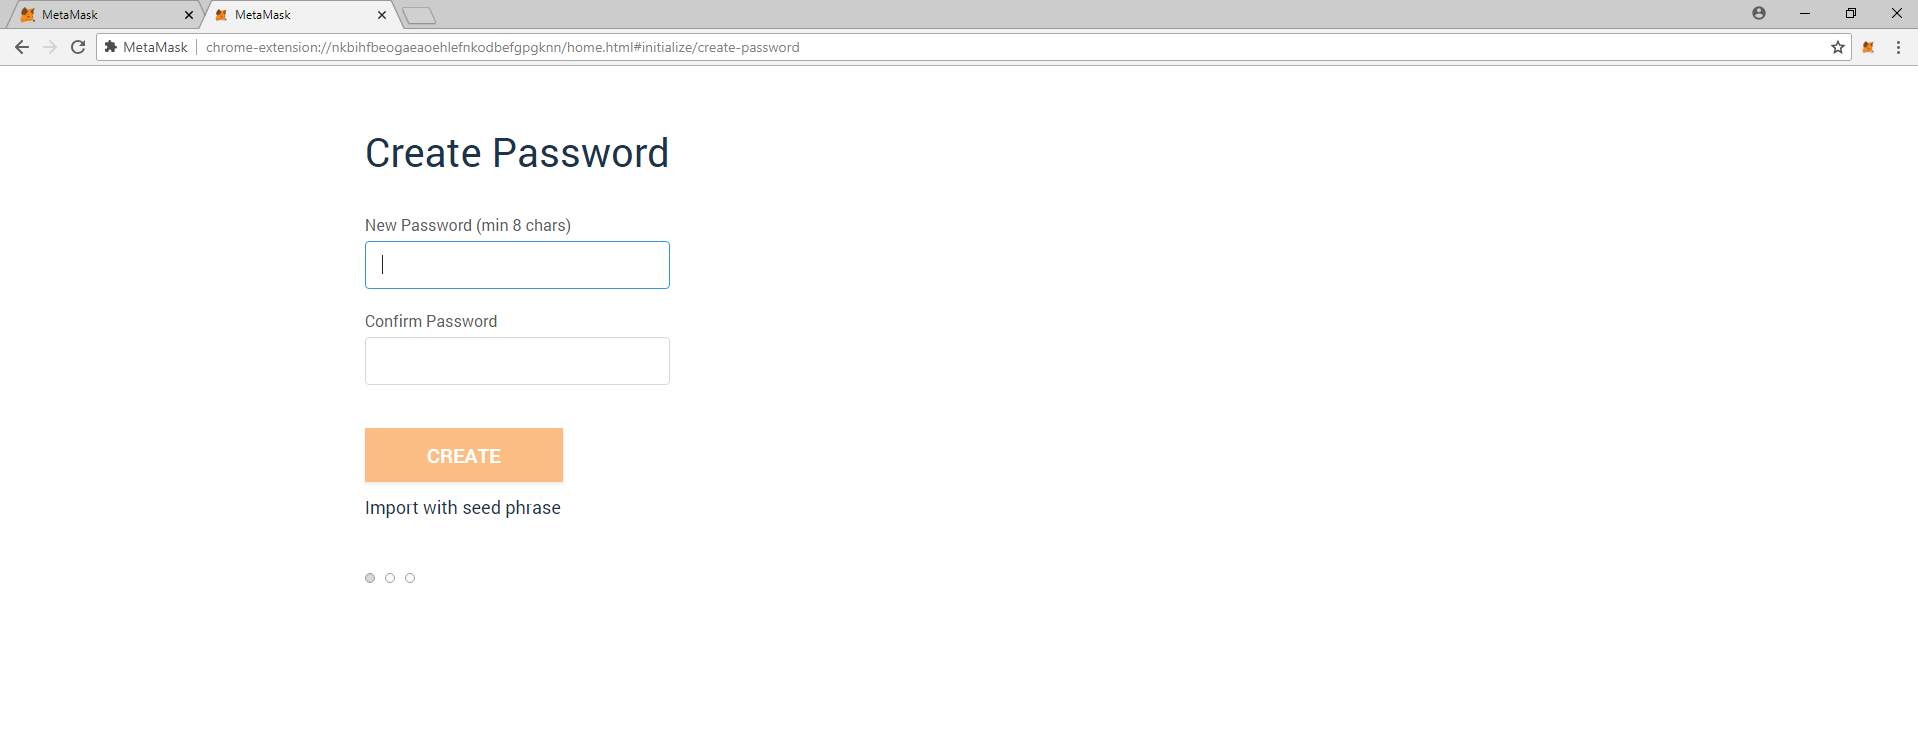
Create a password for your Metamask account. Make your password different from any other password that you use. We suggest that your password use a mix of characters, numbers, and symbols.
-
Info, Agreements, & Warnings
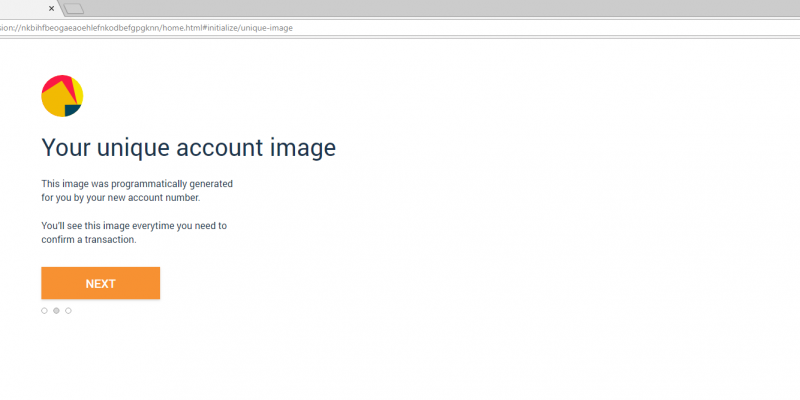
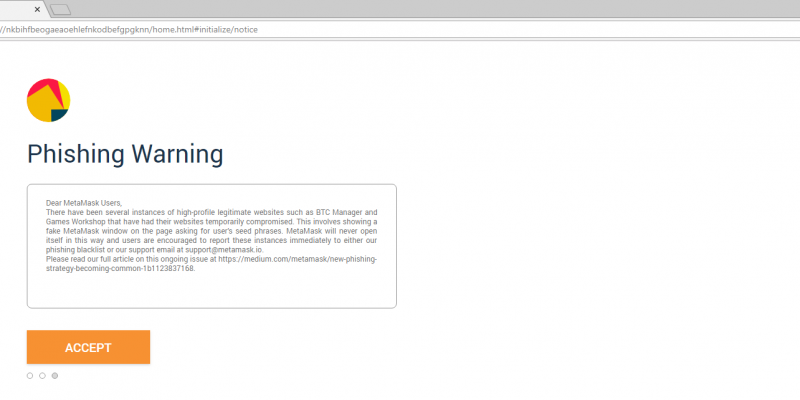
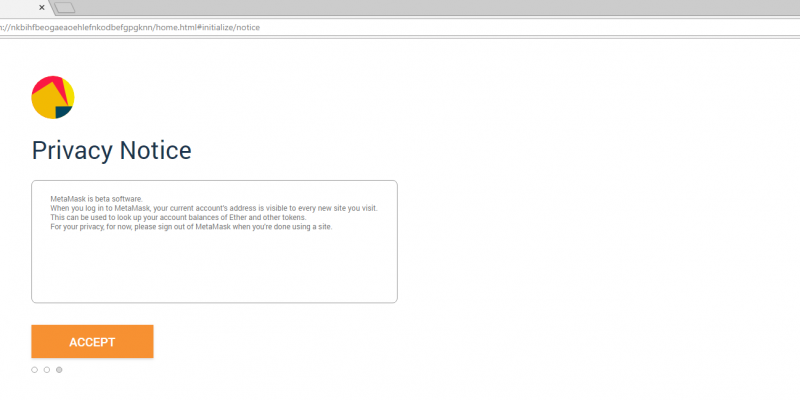
Metamask next displays the unique account image and requires that users accept the terms of use, privacy notice, and phishing warning. In a new space like cryptocurrency, it’s still a good idea for new users to closely review things like the privacy notice and phiashing warning to understand some of the risks with Metamask.
-
Secret Backup Phrase
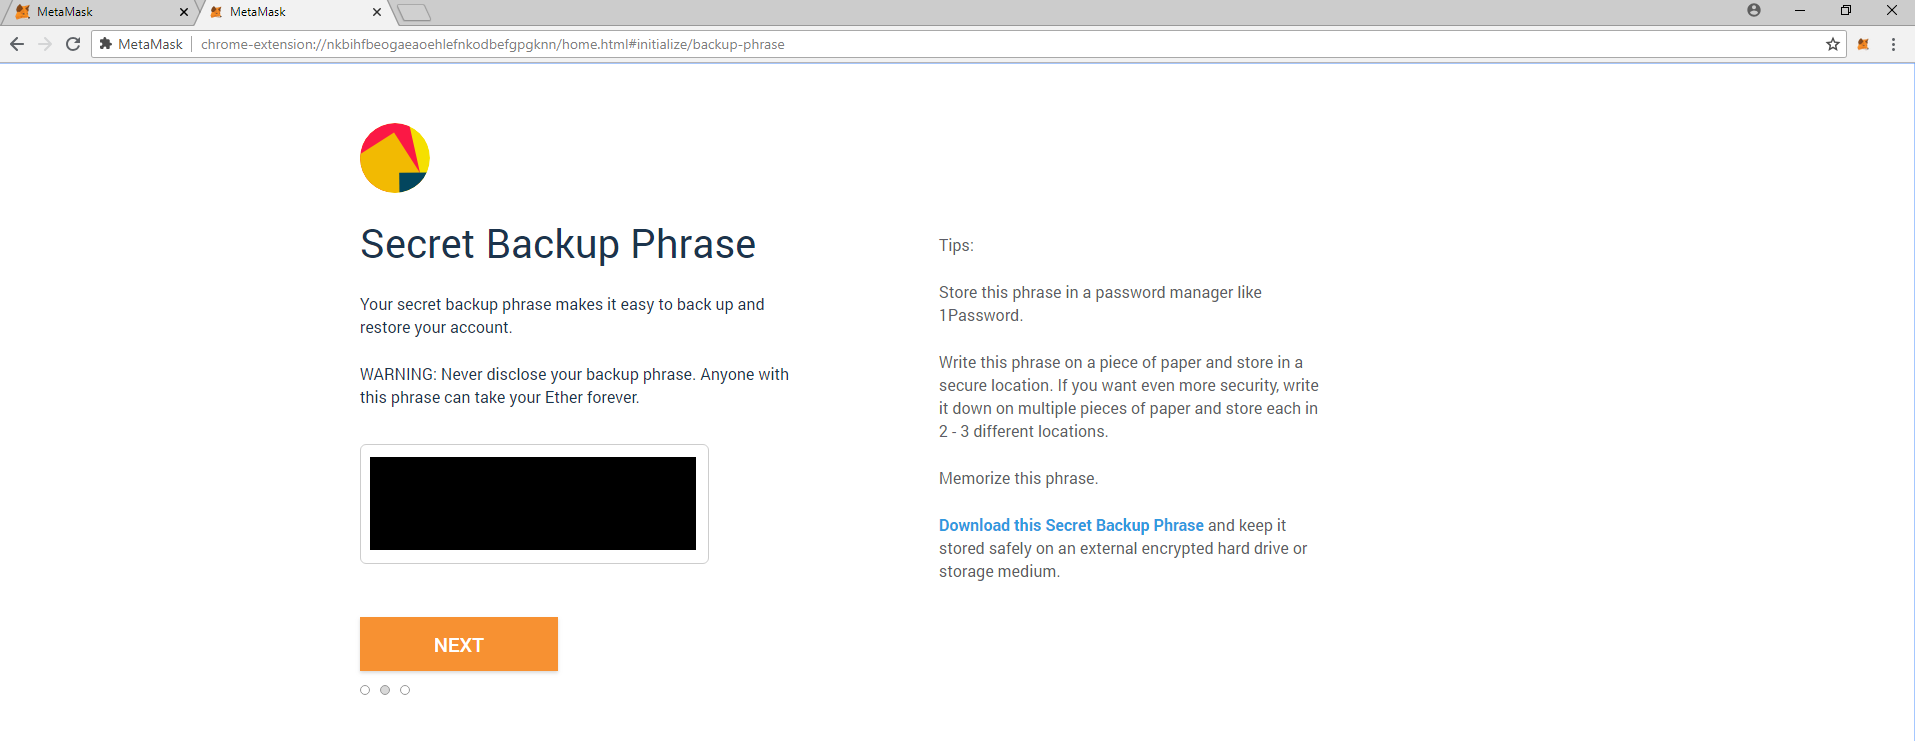
Copy the secret backup phrase for your Metamask account. You must have the secret backup phrase to restore your Metamask accounts on any device or browser that you want to use with Metamask. You will likely lose all the cryptocurrency stored on your Metamask accounts if you do not accurately copy your secret backup phrase. We do not recommend saving the secret backup phrase as a file on an internet-connected device because hackers could more easily steal it.
-
Confirm Secret Backup Phrase
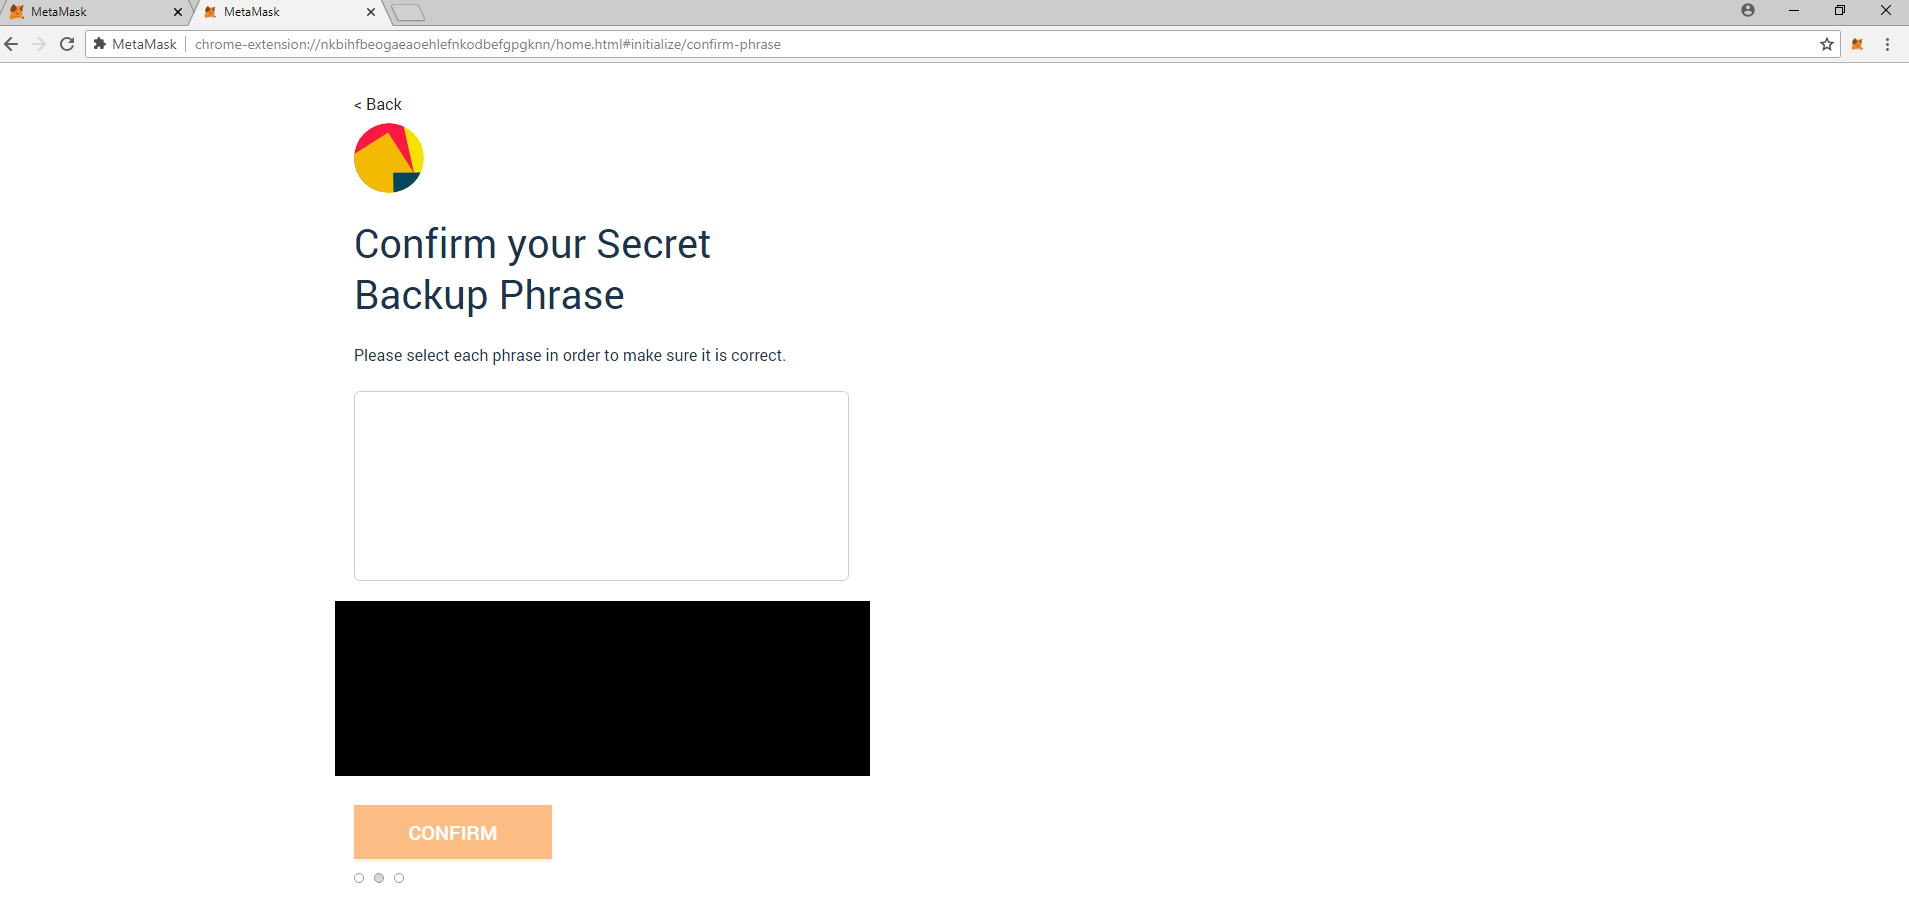
Metamask wants to make sure new users actually write down the secret backup phrase. Therefore, new users must confirm the secret backup phrase before proceeding.
-
Account Created
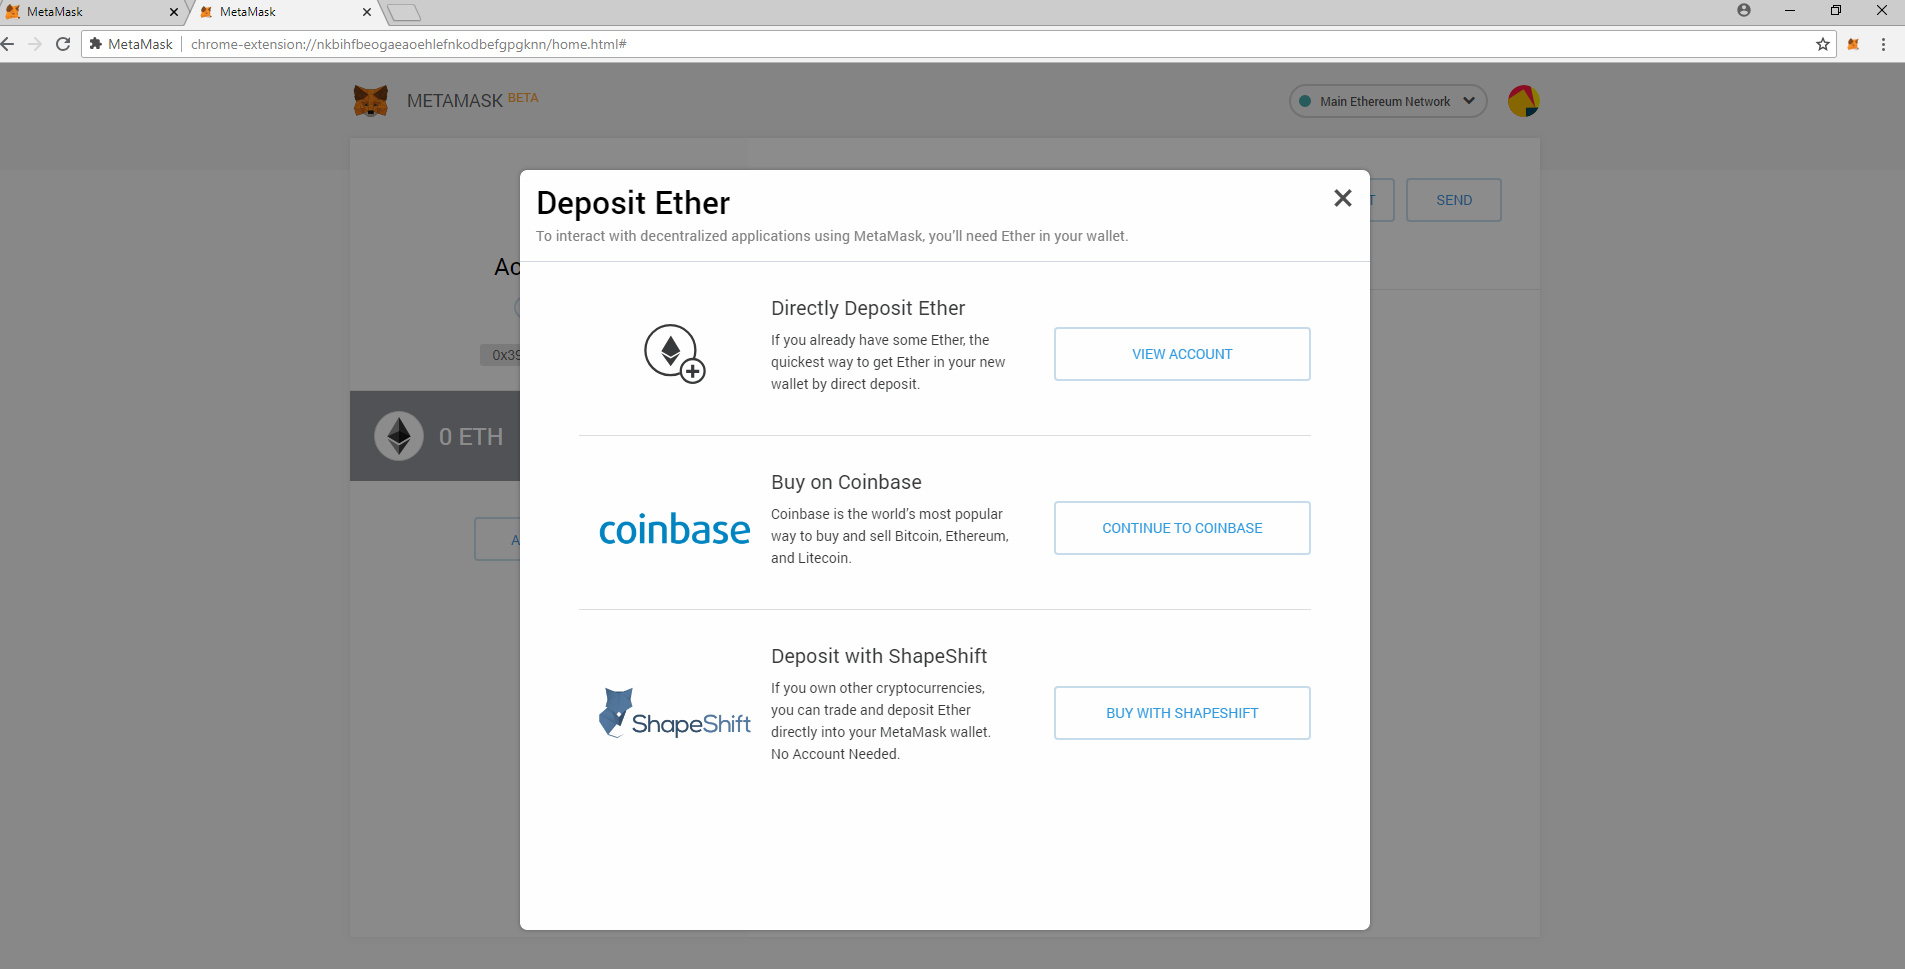
Congratulations on the new Metamask account. New users are immediately reminded to deposit ether into their Metamask account to use it. The options include direct deposits from another wallet, deposits from buying ether on Coinbase, or deposits from converting other cryptocurrencies (such as bitcoin) to ether using Shapeshift. We will cover deposits in more detail below.
-
Using the Metamask Icon
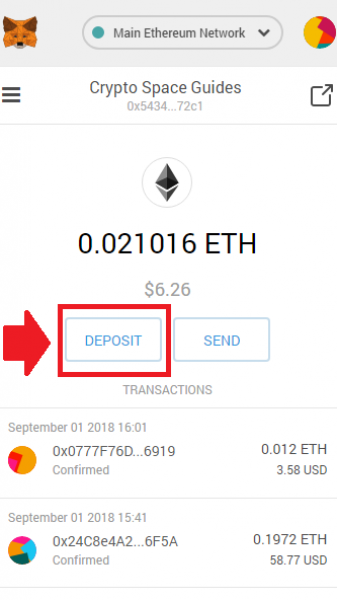
Most interactions with Metamask happen via the icon in the upper-right or pop-up boxes that display when users make transactions. For example, below shows us checking our Metamask account from the icon while preparing to get Cryptoflower. The key components of this Metamask menu are the deposit and send buttons, transaction list, and account balance. Users can always access full-screen mode by selecting the full-screen icon to the right of the account name.

-
Metamask Settings
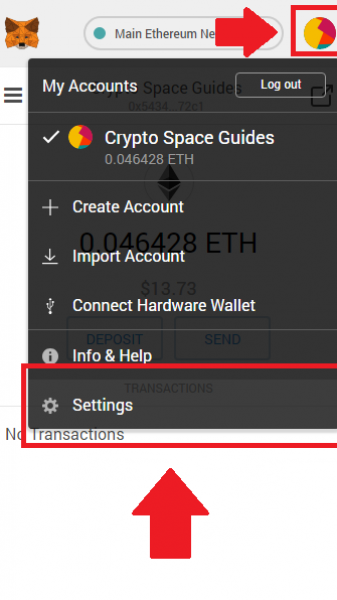
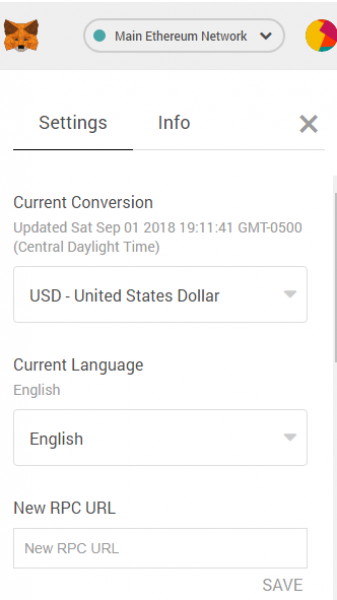
Let’s next review settings in Metamask. Access the settings from the account image in the upper-right. Users can change the denominated fiat currency, switch to a different language, reveal their secret backup phrase, reset their account, and more.
-
Deposit Ether Options
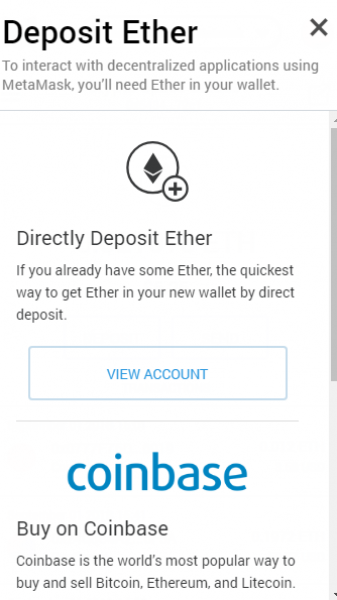
It is not difficult to deposit ether (ETH), the cryptocurrency used on the ethereum blockchain, into a Metamask account. Users have three options. First, users with existing ETH in another wallet or exchange (such as Coinbase, Coinbase Pro, or Gemini) may deposit ETH into their metamask account. Second, users can buy ETH on Coinbase through Metamask and have it directly deposited into their Metamask account. Third, users of other cryptocurrency (such as bitcoin) can deposit ETH with Shapeshift. This guide covers the first two options.
-
Deposit Ether Directly
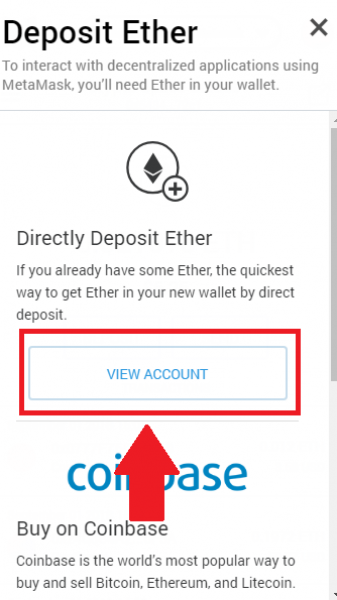
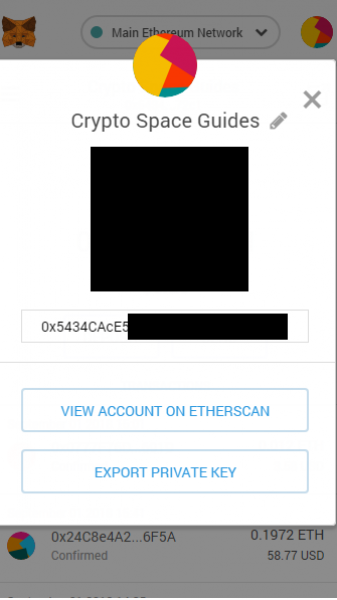
This option is for users who already own ETH. Select view account option from the deposit options to directly deposit ETH. Metamask will display a QR code and ethereum address. For those users new to cryptocurrency, the ethereum address is like your public account number on the ethereum blockchain. Copy the ethereum address and scan it into the sending wallet or exchange to send ETH to your Metamask account.
-
Deposit Ether via Coinbase
You can also buy ETH and have it deposited into your Metamask account with your Coinbase account. Your browser will open a web page with the below widget. The steps are:
- Enter the amount of ethereum you want in your Metamask account, enter your email, and select continue.
- Enter your Coinbase password. You can learn how to create an account from our guide.
- Enter your Coinbase two-factor authentication code.
- Choose your payment method.
- Confirm the purchase.
-
Send/Withdraw ETH
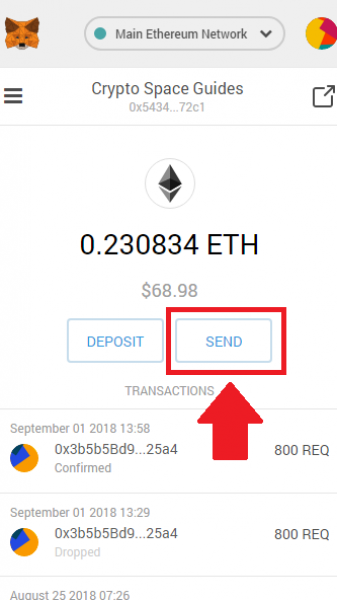
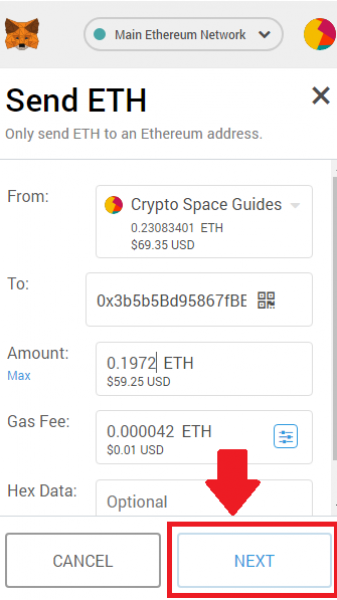
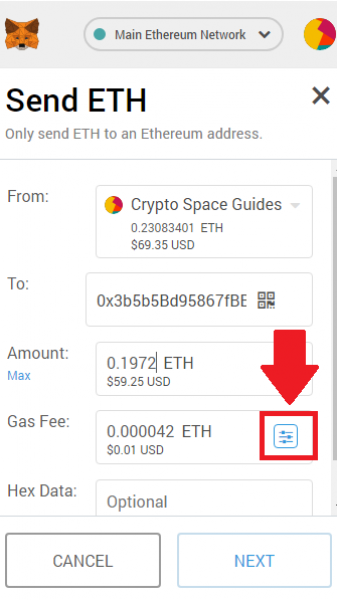
Let’s also review how to withdraw and send ETH with Metamask. Select the send button first. Then enter the amount of ETH to send and the recipient’s ethereum address. Select the next button to continue with the transaction.
-
Customize Gas for Sending ETH
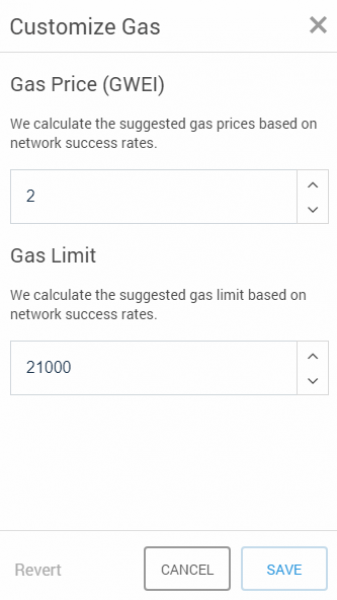
ETH and ERC20 tokens are sent using “gas.” Metamask dynamically sets a gas limit and gas price to pay to send ETH. But users can also enter a custom gas price if they want a transaction to cost less or go faster. If this is confusing, users who set the gas price to the standard gas price listed at ETH Gas Station ordinary will have their transactions promptly processed.
-
Confirm Sending ETH
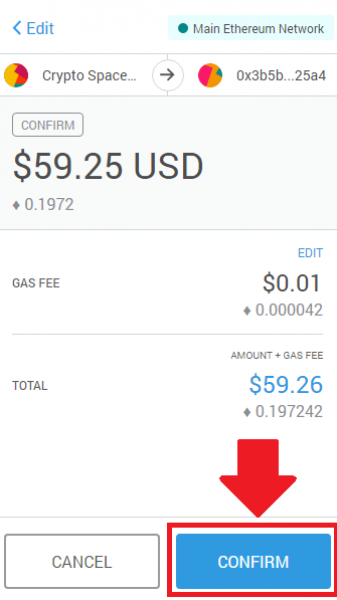
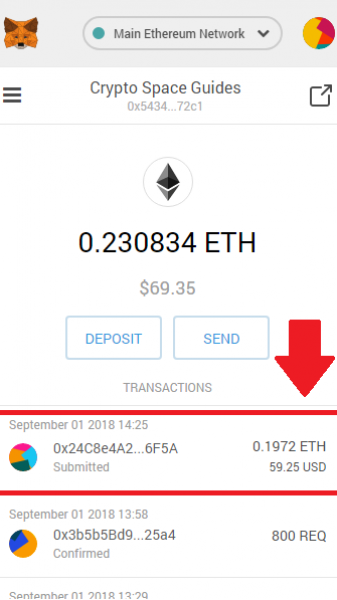
Metamask will display a final confirmation for users to review their transactions one last time. Review the transaction and select confirm to process it. The transaction is immediately displayed in your transaction list as “submitted.” The transaction list will display the transaction as confirmed as soon as the ethereum blockchain confirms it.
